Food In Jars
Home
Events
Recipes
Blog
Cookbooks
Canning 101
About
Search
Search for:
Follow Me
Posts
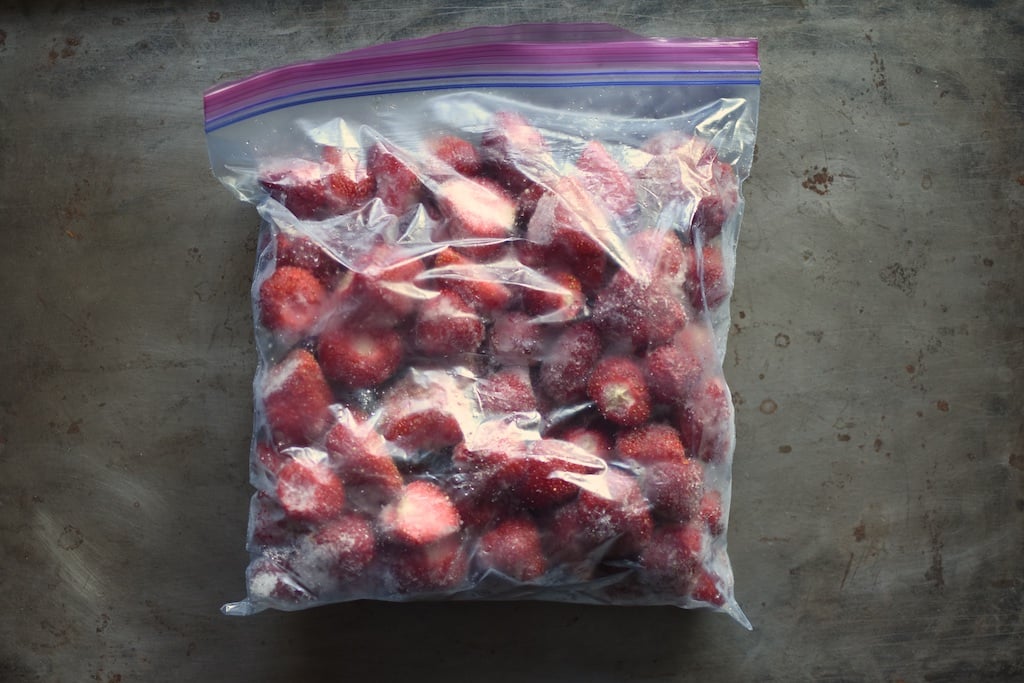
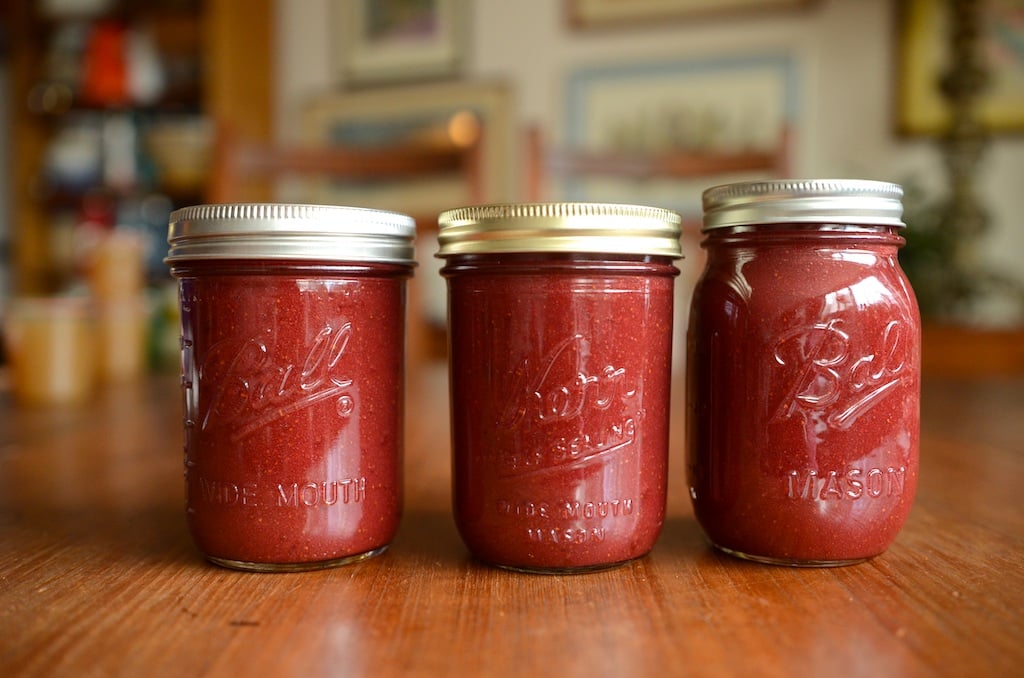
How to Can Frozen Fruit
by Marisa McClellan
|
February 13, 2025
Brassicas and Root Vegetables for the Community Canning Challenge
by Marisa McClellan
|
January 14, 2025
The Community Canning Challenge
by Marisa McClellan
|
January 10, 2025
I Canned Fruit and My Jars are Sticky! Help!
by Marisa McClellan
|
August 16, 2022
Getting Back to Blogging
by Marisa McClellan
|
June 12, 2022
Recipes
Health Salad Recipe
by Marisa McClellan
|
January 27, 2025
Three Ingredient Fig Jam for Canning
by Marisa McClellan
|
September 21, 2023
Sugar Free Peach Jam
by Marisa McClellan
|
August 30, 2022
Strawberry Hibiscus Butter
by Marisa McClellan
|
June 8, 2022
Mulled Apple Cider Syrup
by Marisa McClellan
|
December 30, 2021
Partners